So You Wanna Get Those GoPro Clips to Your Mac? Here’s How
Alright everyone, this post is for all the folks who’ve survived adrenaline-packed weekends only to end up stuck staring at your GoPro, wondering: How do I get these epic fails and accidental thumb-cam moments onto my Mac? Been there—so let’s get your footage out of the camera graveyard. I’ll hit you up with two different methods, both tried-and-true: good ol’ SD card hustle, and the MacDroid app magic.
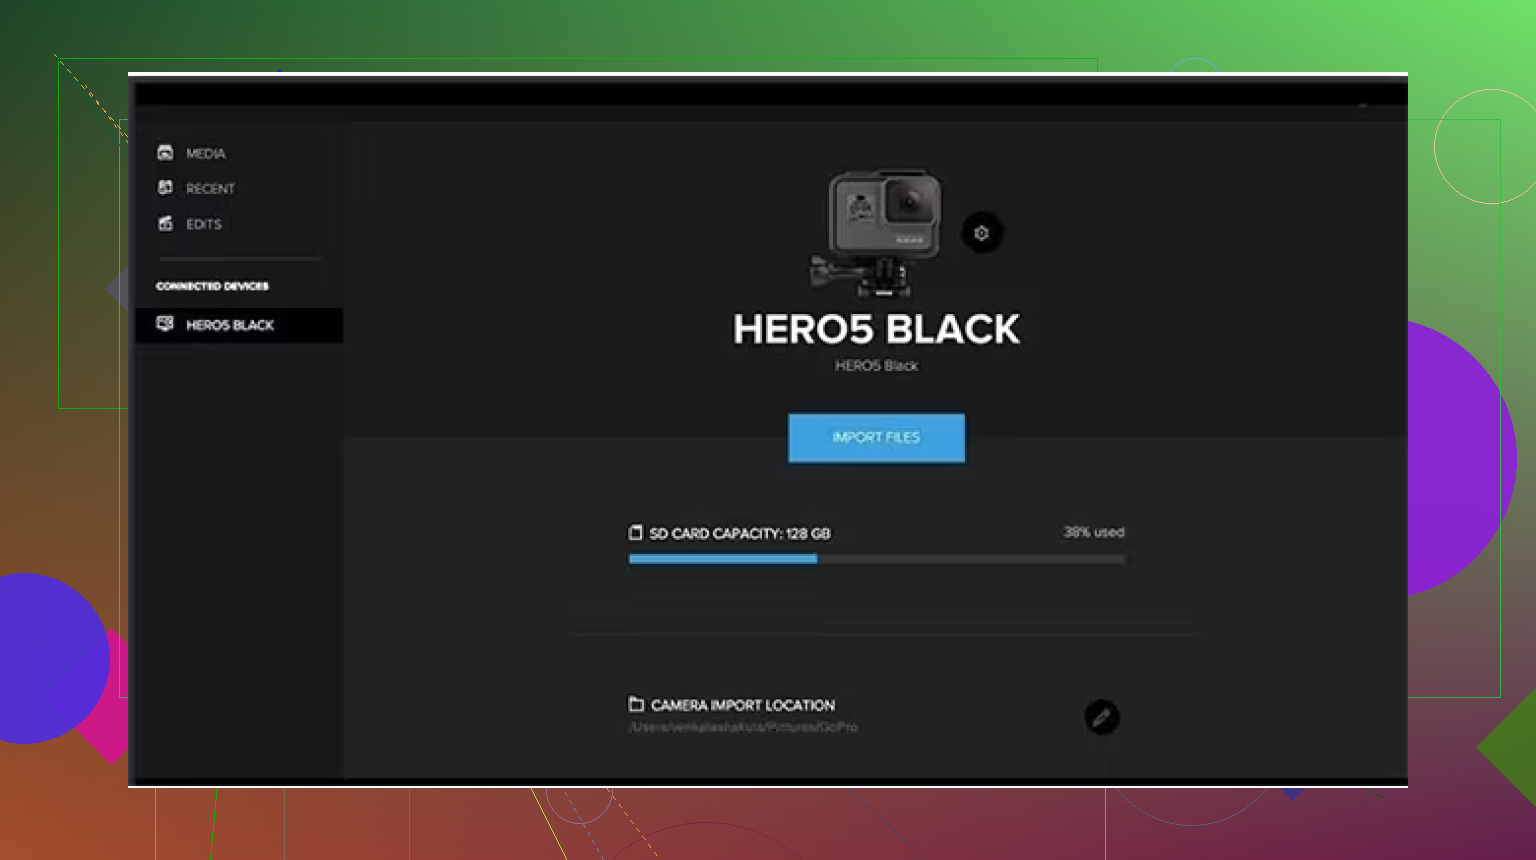
Classic Move: Pulling Videos Off Your SD Card
Imagine your GoPro is an old-school disposable camera and your SD card is the film. No Wi-Fi, no fuss—just direct and effective. Here’s my personal routine, perfected after too many sandy rides:
-
Pop Open the GoPro
Pull out the SD card. (Pro-tip: power off the camera first unless you want to corrupt your data. I learned this the hard way.) -
Plug the Card Into Your Mac
Most Macs need a USB SD card reader; some have a slot, but don’t count on it unless you’re using an older MacBook Pro. Slot the card in and wait for “NO NAME” or “Untitled” to pop on your desktop. -
Find Your Videos
Open Finder, locate the card, then dig through the DCIM folder. You’ll see cryptic filenames like “GOPR1234.MP4.” Those are your golden moments—or disasters you want to upload to your group chat. -
Drag and Drop
Move your files onto your desktop or a special folder called “My GoPro Chaos.” Depending on file size, this could take seconds or a solid cup of coffee. -
Eject the Card Properly
Drag the SD card icon to the trash or hit that tiny eject button in Finder. Just ripping it out turns your SD card’s future into a scary lottery.
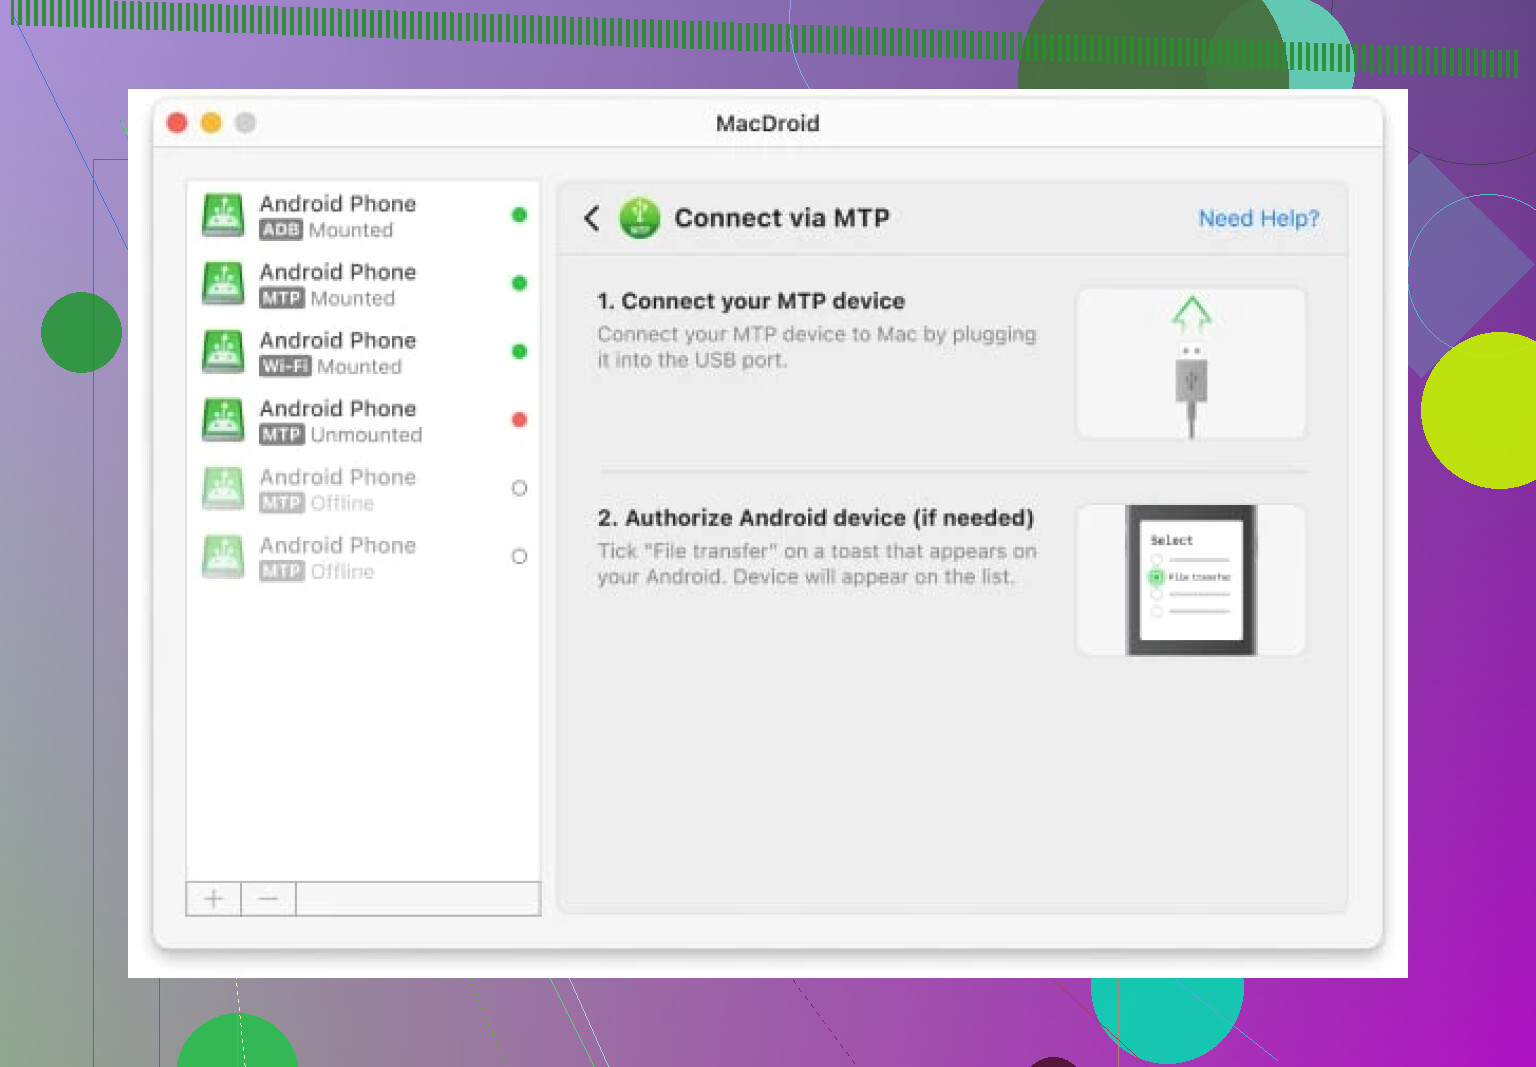
MacDroid App: The Sidekick for Your GoPro Transfers
Okay, so maybe you don’t like fiddling with hardware. Or your SD card slot laughs at you and says, “Not compatible.” Enter: MacDroid. This app is supposed to be for Android devices, but guess what? Plug in your GoPro with a USB cable, and it works for file transfer just as well—no SD card required.
Here’s the breakdown:
-
Step 1: Download & Install
Go snag MacDroid from the App Store. Installation’s typical drag-into-Applications stuff. -
Step 2: Connect Your GoPro to Your Mac
Plug that GoPro in using a USB cable. Yes, it will probably beep and flash. Just let it do its thing. -
Step 3: Fire Up MacDroid
Launch the app. It’ll prompt you to detect your device (the GoPro). Tick whatever access permissions it wants—unless you’re feeling rebellious. -
Step 4: Locate and Transfer Your Footage
Browse your GoPro’s storage as if it were a regular external drive. Find your videos, and copy them over to your Mac with a simple drag and drop. Done.
That’s it. You don’t need to fight with GoPro’s sometimes-clunky native apps, and everything shows up in Finder like a normal USB stick.
TL;DR
TL;DR: If you’re old-school (or your WiFi hates you), yank the SD card and plug it in. If you’d rather avoid the SD fuss, pair your GoPro with your Mac via USB and use MacDroid to move videos with minimal drama.
Let’s be honest, whichever method you pick, at least you’ll finally get to edit that “Epic Tree Fail” highlight reel. Good luck!