My HFS-formatted external hard drive stopped mounting, and I’m worried about losing important files. I need advice on safe HFS external drive recovery options before I accidentally make the data loss worse.
I’ve dealt with a few older HFS and HFS+ external drives, and the main thing I’d stress is this: don’t treat recovery like repair. If the files are important, get the data off first. Don’t format the drive, don’t keep running First Aid over and over, don’t copy anything new to it, and don’t install recovery software onto that same disk.
When files are deleted from an HFS drive, they usually aren’t wiped right away. The file system mostly marks that space as free, so the data may still be there until something overwrites it. That can apply after an accidental delete, emptied Trash, or sometimes even a quick format. External drives often have better odds than internal system drives because macOS isn’t constantly writing background data to them.
Before running a recovery scan, check the drive’s condition:
- See if it shows up in Disk Utility with the correct capacity.
- Try a different cable, USB port, or Mac if the connection is flaky.
- Check SMART status if the enclosure passes that info through.
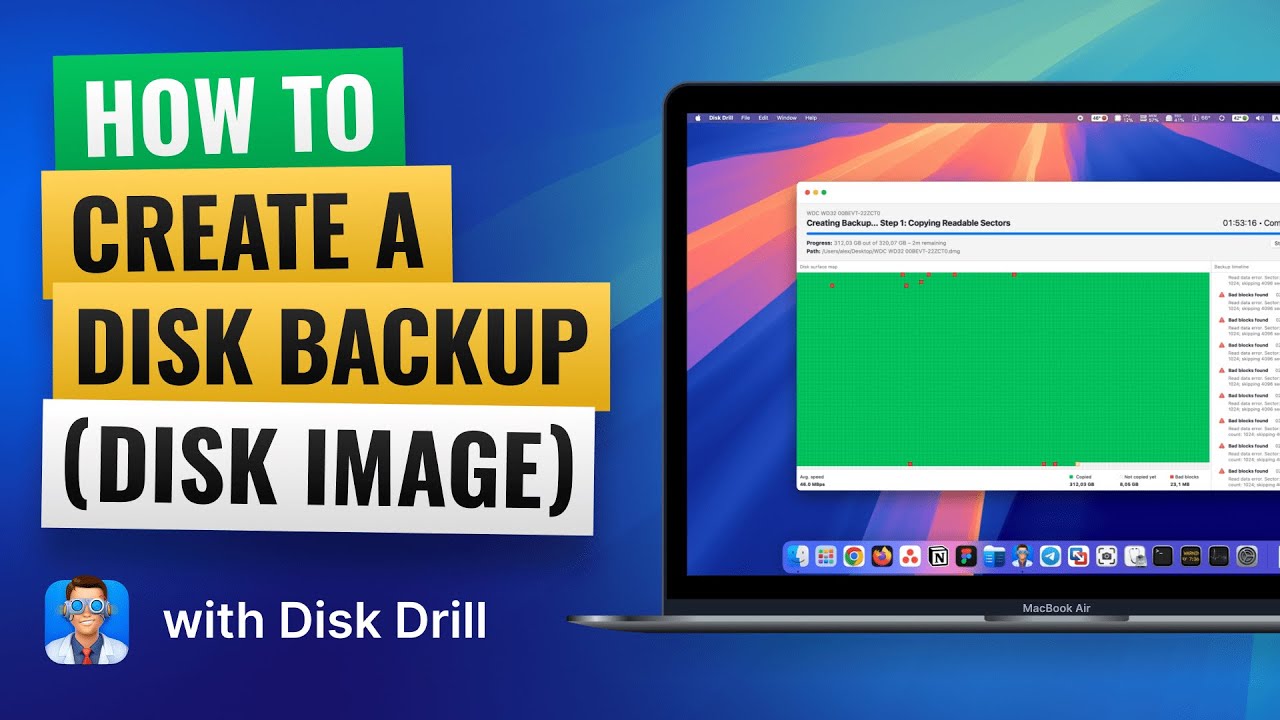
- If the drive freezes, drops out, shows read errors, or has bad SMART values, make a disk image first and scan the image instead of hammering the physical drive.
For HFS recovery, Disk Drill is usually the first tool I’d point people to. It supports HFS and HFS+, works with Mac internal and external drives, and can scan a disk even if Finder won’t mount the volume, as long as the device still appears with the right size. The previews and recovery-chance indicators are useful too, since you can check whether the files are actually recoverable before committing to the restore.
The basic workflow would be:
- Install Disk Drill on your Mac, not on the HFS drive you’re recovering from.
- Connect the old external drive.
- Open Disk Drill and choose the whole physical disk if it’s available, not just the HFS volume.
- Click Search for Lost Data and run Universal Scan.
- Wait for the scan to finish, then go to Review Found Items.
- Look through Deleted or Lost and Reconstructed.
- Preview the important photos, documents, videos, or whatever else you need.
- Select the files and click Recover.
- Save the recovered files to another healthy drive.
Don’t recover files back onto the same HFS disk. That can overwrite other deleted files that haven’t been restored yet.
If the external drive is old and acting unstable, use before doing the normal scan. Make the image on a separate drive with enough free space, attach that image in Disk Drill, and scan the copy. It won’t fix the original drive, but it reduces how much you’re forcing failing hardware to read.
Also check the simple stuff first. Look in the Trash, since macOS can keep hidden Trash folders on external drives. If Time Machine has a backup from before the files disappeared, use that before recovery software. TestDisk is another option if the whole HFS partition was deleted or lost, but it’s text-based and easier to mess up. I’d think of it more as a partition-recovery tool than a normal “restore my deleted folder” app.
A quick format doesn’t always kill your chances. It may replace the file-system metadata while leaving a lot of the actual file content sitting on the disk. What matters most is how much the drive was used after the format. If the scan has to recover files by signatures instead of intact HFS records, some original names and folder paths may be gone.
One thing to watch for on Windows: Windows doesn’t read HFS+ natively, so it may show the drive as RAW and ask to format it. Cancel that. Some recovery tools on Windows can still scan the disk, but a Mac scan is more likely to preserve the original folder structure.
I’d stop DIY recovery if the drive:
- clicks, grinds, buzzes, or keeps spinning up repeatedly
- disappears from Disk Utility
- disconnects every few seconds
- freezes the Mac
- scans painfully slowly because of constant read errors
- has irreplaceable data and only one readable copy left
Those symptoms are more in the physical-failure category than simple deletion or HFS corruption. Software can’t fix damaged heads, bad electronics, firmware issues, or badly degraded media. Repeated scans can make things worse, so at that point a professional recovery lab is the safer call.
For a normal accidental delete on a healthy old HFS external drive, I’d stop using it, check Trash and Time Machine, scan with Disk Drill, preview the files, and recover them to a separate disk. If the drive is unstable, image it first. If it’s clicking, disappearing, or clearly failing, stop powering it on and look at lab recovery instead.

https://www.youtube.com/watch?v=oJ1aQPFxTag
7 Likes
Do not try to “mount it somehow” as the next goal. Mounting a damaged HFS volume can trigger writes, journal replay, Spotlight indexing, or random macOS cleanup behavior, and that is the opposite of what you want if the directory is already damaged.
I agree with the general advice to image first if the drive is unstable, but I’d be stricter about it: if the disk is making weird noises, dropping offline, or reading at a crawl, skip the normal recovery app scan entirely for now. Make a sector-by-sector clone/image with a tool meant for bad disks, then scan the copy. Recovery programs like Disk Drill are fine for a healthy drive with HFS corruption or deleted files, but they still need to read the disk a lot. On a dying drive, that extra reading can be the thing that finishes it off.
A small detail people forget with old Mac externals: check whether the problem is the enclosure, not the drive. A bad USB bridge board or weak power supply can make an HFS disk look corrupted when the actual disk is readable. If it is a 3.5-inch external drive, make sure the power brick is correct. If it is a removable SATA drive in a case, testing through another enclosure or dock can change everything. Do not do this if the drive is clicking or physically failing, though.
And if you do use Disk Utility, use it only for looking at information at first. If it shows the correct drive size, that is a decent sign. If it shows the wrong size, zero bytes, or keeps appearing and disappearing, software recovery is less likely to be the safe path. For irreplaceable files, the cheapest attempt is not always the cheapest outcome.

Before you scan anything, write down exactly how the drive appears in Disk Utility: the physical disk name, reported size, partition map, and whether the HFS volume is gray, missing, or asking for a password. That little snapshot matters because it tells you whether you are dealing with a volume problem, a lost partition map, or a disk that macOS barely sees.
A caveat I don’t see mentioned much: if the drive was HFS+ encrypted, don’t expect a normal “raw file” recovery to save the day unless you can unlock it. With encryption, the useful recovery target is usually the intact encrypted volume/container structure, not random file signatures. If the password prompt still appears, that is useful. If the partition entry is damaged but the encrypted volume data is still there, a clone first becomes even more important because repair attempts can make that structure harder to recover.
Disk Drill can be a reasonable scanner once you have a stable source or an image, but I would not start clicking repair-type options just because a tool offers them. Treat every app as read-only until the files are copied somewhere else. And use a destination drive with plenty of extra space, because recovered files can come out duplicated, renamed, or sorted into weird folders if the HFS catalog is damaged. The annoying part is that a “successful” scan can still leave you with a lot of manual sorting, so recover the most important folders first instead of trying to restore the whole disk in one giant batch.

A drive that shows the right size but has an unmountable HFS volume is a very different case from a drive that appears as 4 GB, 0 bytes, or vanishes when you touch the cable. In the first case, recovery software may have a fair shot. In the second case, you may be fighting the enclosure, power, controller, or failing hardware before HFS even matters.
I agree with the “image first” advice, but there’s a boring detail people skip: make sure your recovery destination is Mac-friendly. If you recover a bunch of old Mac files to a random exFAT USB stick, the main file contents may copy fine, but you can run into annoyances with packages, permissions, odd filenames, old app bundles, aliases, and metadata. For photos, PDFs, movies, and Office docs this usually isn’t a big deal. For old Mac projects, app folders, music libraries, Photos/iPhoto libraries, or anything that behaves like a package, I’d rather recover to an APFS or HFS+ formatted drive.
Disk Drill is fine as a scanner if the disk is stable, but I would treat its results like a salvage pile, not a clean restore. Previewing a file only proves that particular file can be read, not that the whole folder tree is healthy. If you see both “found folders” and “reconstructed” results, try the folder-structure results first because they’re more likely to keep names and paths. Reconstructed files are useful, but sorting 10,000 files named by type and number is miserable.
My order would be: stop using the drive, check whether Disk Utility sees the correct physical size, make a clone/image if there is any instability, then scan the clone or the physical disk only if it behaves normally. Save a few important files first and open them from the destination before doing a huge recovery run. Don’t assume “recovered” means “usable.”
The slightly harsh answer is that HFS recovery is often less about finding the perfect app and more about not making a bad first move. If the drive sounds normal and stays connected, DIY scanning is reasonable. If it clicks, resets, or gets slower the longer it runs, stop trying to be clever with software. At that point the safest “option” is doing less.