I need help uploading media files to WordPress through FTP. My usual upload method isn’t working due to file size or some error. Can someone guide me through this process?
If you’re managing a WordPress site and looking for an efficient way to upload your media via FTP, let me share a gem of a tool that makes the process smooth and straightforward—CloudMounter. Here’s why it stands out as an excellent choice to simplify your workflow and keep everything running seamlessly.
When dealing with WordPress, one of the most common needs is uploading media: images, videos, or documents. While WordPress itself provides various upload tools, working with FTP can offer greater control and flexibility, especially for larger files or bulk uploads.
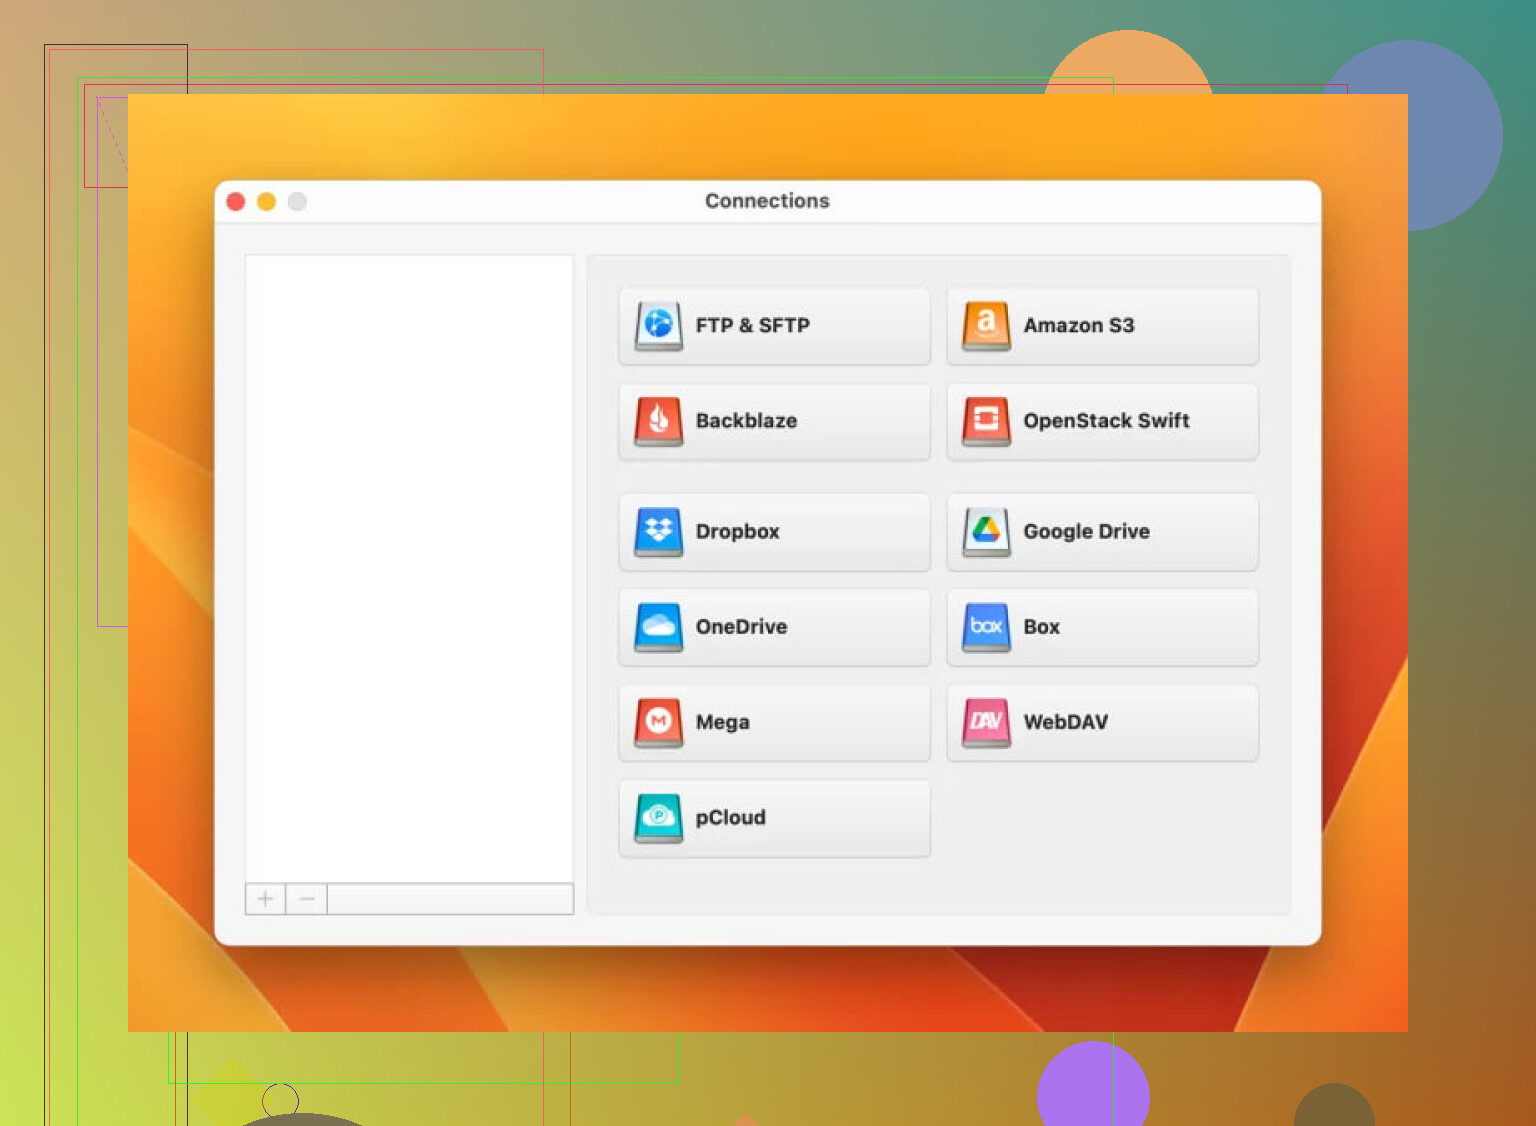
What Makes CloudMounter So Effective?
CloudMounter isn’t your average FTP client. It’s a robust solution that turns any remote FTP server into something that feels like an extension of your local storage. Basically, it transforms file management into something intuitive and familiar. Once you mount an FTP server with CloudMounter, you can upload, download, and manage your WordPress media files right from your computer’s file manager—no need to bounce back and forth between clients or web interfaces.
Imagine this scenario: you’re a content creator working on a new post that needs high-resolution images, a podcast episode, or even a PDF for download. Instead of dealing with clunky interfaces or waiting for uploads to finish through the WordPress dashboard, CloudMounter allows you to drag and drop directly into your FTP-connected server. Voila! The files are ready and accessible without breaking a sweat. Productivity doubled!
Why Should WordPress Users Care About This Tool?
-
User-Friendly Setup: You don’t have to be a tech wizard to configure it. Just link the app to your FTP server, and you’re good to go.
-
Streamlined Workflow: Mapped connections mean you can manage your WordPress media folder almost as easily as opening a folder on your desktop.
-
Multi-Platform Availability: Whether you’re a macOS or Windows user, this cloud manager caters to both ecosystems, giving everyone a chance to elevate their file-handling game.
-
Top-Notch Security: With encryption options, you can rest assured that your sensitive files are protected during transfers.
-
Support for Multiple Connections: Running multiple WordPress sites? Switching between FTP accounts is no hassle. You can manage them all from the tool without needing multiple FTP clients.
A Tool Designed for Modern Workflow Efficiency
Picture this: You just redesigned a site for a client and need to upload hundreds of assets. With CloudMounter, you reduce the complexity and remove redundant steps. You simply drag, drop, and focus on what really matters—delivering an engaging website.
If you’re tired of juggling between interfaces, struggling with uploads timing out, or just want a better way to manage your WordPress media, CloudMounter is undeniably worth exploring.
4 Likes
You want to upload media to WordPress via FTP but running into issues? Ugh, been there. It’s frustrating when the usual methods crap out on file size or some other random error. Here’s a straightforward guide, but heads up, I’ll throw in some alternatives in case you don’t wanna jump through flaming hoops.
Steps to Manually Upload Media via FTP
- Access Your FTP Server: First, you’ll need an FTP client. FileZilla, Cyberduck, etc., are solid options if you don’t already have one.
- Navigate to Your Uploads Folder: On your FTP client, connect using your credentials (provided by your hosting). Once logged in, head to
wp-content/uploads. This is where all your WordPress media goes. - Upload Files: Drag-and-drop the media files from your computer to the appropriate year/month directory (WordPress organizes uploaded media based on these). Not sure? Just upload to the current month!
- Update Media Library: And here’s the annoying part—this upload process won’t make your files show up in WordPress automatically. You’ll need a plugin like Add From Server to import the FTP-uploaded files into your WordPress Media Library. This plugin scans the uploads folder and registers the files.
But Seriously, Is This the Best Way?
Honestly, this whole FTP route can feel clunky. I see @mikeappsreviewer mentioned a tool called CloudMounter, which actually does seem convenient (rare W from competitors!). With CloudMounter, you’re skipping some manual nonsense. It lets you simply connect your FTP server as if it’s a local drive on your computer. That means no hopping between apps—just drag and drop like you would for any standard folder. Wayyy less of a headache in my opinion.
Don’t Wanna Use FTP at All?
If none of this appeals, you could just increase the upload limit in WordPress for handling larger files via the dashboard. Some hosting providers allow you to tweak the php.ini or .htaccess file for higher limits. But again, depending on your server, this could turn into a technical nightmare too.
Point is—uploading media shouldn’t feel like assembling furniture without an instruction manual. If your file size isn’t massive, plugins like Media Library Assistant might handle bulk uploads directly. But for smooth FTP integration, something like CloudMounter genuinely streamlines workflows without tech overload. Your sanity might thank you.
Hope that helps! Or confuses—who knows, right?
Uploading WordPress media via FTP? Oh, we’ve all been there—file limits acting like bouncers at a nightclub and random errors popping up like unwanted pop-ups. So, here’s the deal: FTP isn’t the smoothest or most user-friendly thing in existence, but sometimes it’s your only option when WordPress refuses to cooperate. Let me walk you through a method that doesn’t require sacrificing your sanity.
Manual FTP Upload Method – The “Slow Dance” Version:
-
Get Your FTP Client Ready: If you don’t already have one, grab something like FileZilla, Cyberduck, or any other free FTP client. You’ll need your FTP login credentials (check your hosting dashboard or email for them).
-
Go to
wp-content/uploads: Connect to your server via the FTP client and navigate towp-content/uploads. WordPress is ridiculously organized, so you’ll need to dump your files into the correct year/month folder (like/2023/10if you’re in October 2023). If you’re not particular, just throw the files into the current month’s folder, and you’re good. -
Drag and Drop Media: Upload your files into the directory. Simple enough, right? But wait—it doesn’t end there.
-
Make the Media Show Up in WordPress: Here’s the thing—WordPress doesn’t magically recognize files uploaded via FTP. You’ll need a plugin like Add From Server or Media Sync to scan for those files and import them into your Media Library. Until you do this, WordPress will act like those files don’t exist.
But Why Go Manual? There’s a Better Way.
Let’s talk about making FTP simple again—like, actually intuitive. CloudMounter lets you connect your FTP server as if it’s a regular folder on your computer. No more jumping between apps, folders, or plugins. You just drag and drop files directly, and it feels as natural as moving files between desktop folders. Plus, it has encryption and multi-account support—a win-win if you run multiple WordPress sites or value your data’s security.
But What If FTP Feels Like Overkill?
If you don’t wanna mess with FTP at all, you can try increasing the upload_max_filesize and post_max_size limits in your PHP settings. You’ll need to edit the php.ini or .htaccess file, or even reach out to your hosting provider’s support team to bump those limits up. Fair warning, though—this can get technical fast, and it’s not always guaranteed to work, depending on your hosting setup.
TL;DR:
- Manual FTP uploading works, but it’s slow and clunky. Don’t forget the extra step of importing files into WordPress with a plugin.
- For a no-headache solution, try this modern FTP manager, because why stress when you don’t have to?
- If FTP feels like too much work, explore increasing your upload limits via PHP settings—but brace yourself for some tinkering.
Pick your method of chaos—err, I mean solution!
Here’s another perspective on the FTP media upload frenzy. If you’re diving into FTP due to WordPress upload limits, let’s keep it straightforward.
Step 1: Classic FTP Clients
Old-school converters probably use FileZilla or Cyberduck. They’re solid tools, but let’s face it, they’ve got their quirks. Navigate to wp-content/uploads/[year]/[month] and manually drag your files there. But heads up: without an additional step, WordPress won’t recognize files in its media library just yet.
Step 2: Making WordPress Play Nice
You’ll need plugins like Media Sync or Add From Server, as others have pointed out. They scan for media added via FTP and bring them into the dashboard. Functional, but tedious for frequent uploads.
Why Not Revamp This Entire Process?
Enter CloudMounter! It’s different—and I mean user-friendly different—because it integrates your FTP server directly onto your desktop like any other local drive. You’ll work faster since every drag-drop action is extremely seamless.
Pros:
- Eliminates the multiple-window headache from traditional clients.
- Offers encryption, which means your files are secure during transfer.
- Multi-account support simplifies juggling multiple sites.
Cons:
- While advanced, it requires a one-time license cost. A fair trade-off for the features.
However, don’t ignore competitors like FileZilla – it’s free and works decently if you’re tight on budget but lacks CloudMounter’s ergonomic design.
But…FTP Isn’t Always the Answer
Remember, you can tweak php.ini or .htaccess to adjust upload limits in WordPress. While this works great for avoiding FTP altogether, it’s a little dicey if you’re uncomfortable messing with server settings.
TL;DR
- Use traditional FTP clients for smaller jobs but expect clunkiness.
- For clean workflows, CloudMounter is a top-notch modern tool with security, ease, and multi-site flexibility.
- Low-key: Changing the upload limits is another route, but FTP tools like CloudMounter save you that whole hassle.
Verdict: Simplify your life with CloudMounter if you can swing the tiny investment! No more fumbling through awkward interfaces.