For connecting your Espressif device to WiFi, you should follow these steps. I’m assuming you’re using a popular ESP32 or ESP8266 device.
-
Install the Arduino IDE: First, make sure you have the Arduino IDE installed. You can download it from arduino.cc.
-
Add ESP32/ESP8266 Board to Arduino IDE:
- Go to
File > Preferences. - In the “Additional Board Manager URLs” field, add this URL:
https://dl.espressif.com/dl/package_esp32_index.jsonfor ESP32 orhttp://arduino.esp8266.com/stable/package_esp8266com_index.jsonfor ESP8266. - Next, go to
Tools > Board > Boards Manager, and install the ESP8266 or ESP32 package.
- Go to
-
Choose the Correct Board and Port:
- Under
Tools > Board, select your Espressif board. - Choose the correct COM port under
Tools > Port.
- Under
-
Load the Basic WiFi Example:
- Go to
File > Examples > WiFi (or WiFi in the ESP8266 section) > WiFiScanand open the example code.
- Go to
-
Modify the Code for Your Network:
- Open a new sketch and paste this code:
#include <WiFi.h> // For ESP32 // #include <ESP8266WiFi.h> // Uncomment this for ESP8266 const char* ssid = "your_SSID"; const char* password = "your_PASSWORD"; void setup() { Serial.begin(115200); delay(10); // Connect to WiFi Serial.println(); Serial.println(); Serial.print("Connecting to "); Serial.println(ssid); WiFi.begin(ssid, password); while (WiFi.status() != WL_CONNECTED) { delay(500); Serial.print("."); } Serial.println(""); Serial.println("WiFi connected"); Serial.println("IP address: "); Serial.println(WiFi.localIP()); } void loop() { // Your main code here. } - Replace
"your_SSID"and"your_PASSWORD"with your WiFi network name and password.
- Open a new sketch and paste this code:
-
Upload the Code to Your Board:
- Click the
Uploadbutton (the right-facing arrow) to upload the code.
- Click the
-
Monitoring Connection:
- Open the Serial Monitor (under
Tools > Serial Monitoror by pressingCtrl+ Shift + M). - Make sure the baud rate is set to
115200. - The monitor should display the connection process and show the connected IP address.
- Open the Serial Monitor (under
If your device still isn’t showing up, make sure your WiFi credentials are correct and there are no typographical errors in the SSID and password.
Additional Tips:
-
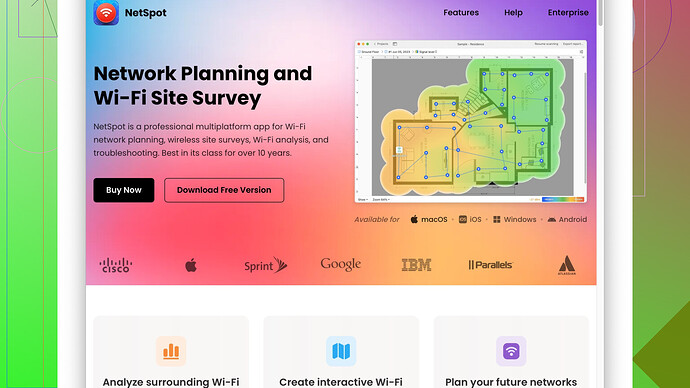
Check WiFi Signal Strength: Sometimes location can be an issue. Use a WiFi analyzer tool like NetSpot
for a site survey to ensure your device is within a strong signal range. You can find more resources and tools at https://www.netspotapp.com. -
Check for Interference: Other electronic devices or heavy concrete walls can cause signal interference.
-
Ensure Proper Power Supply: Some USB ports may not deliver adequate power. Ensure your device is connected to a reliable power source.
-
Use Proper Libraries: Ensure that you’re using correct libraries. While the ESP32 uses
<WiFi.h>, the ESP8266 uses<ESP8266WiFi.h>.
Following these steps should get your Espressif device connected to your WiFi network. If problems persist, double-check your connections and ensure that your router isn’t blocking new devices. Sometimes, updating your router firmware can also help.
If everything is set up correctly and still doesn’t work, try resetting the device. Espressif devices can sometimes be finicky, and a simple reset does wonders.
