I’m updating my LinkedIn because I’m job hunting, but my current photo looks unprofessional and kind of awkward. I don’t have money for a photographer and only have a phone camera and basic lighting at home. What are some practical tips or examples for posing, lighting, background, and what to wear so I can take a clean, professional-looking LinkedIn headshot on my own?
Alright, here is what worked for me when I tried to fix my own “ID photo from a bus pass” LinkedIn picture.
-
Light first, everything else second
I stopped fighting my ceiling lights. I went to a window during the day, turned my back slightly toward it, and let the light hit my face from the front or a bit off to the side. No direct sunlight, because then my forehead turned into a spotlight and my eyes looked tired. Shade outside worked about the same. Once I did that, my skin looked a lot better without editing. -
Kill the noisy background
I tried bookshelves, plants, all that. Looked messy.
The thing that worked: a plain wall or a simple corner of my room with nothing sticking out behind my head. If something in the background pulls your eye away from the face, remove it. White wall, neutral wall, or a clean office corner is enough. -
Clothes that do not fight your face
When I wore heavy patterns, the photo looked like an ad for the shirt, not my profile. A solid color shirt or simple top worked better. Collared shirt, simple blouse, or a plain sweater. Nothing neon, nothing with loud logos. -
Frame it like an ID, not a movie poster
I aimed for head and shoulders. Top of the head almost touching the top of the frame, a bit of space above, shoulders visible. No full body, no wide shot. Your eyes should land near the top third of the image. I took a few shots, then zoomed in and cropped until my face stayed centered and clear. -
The face part
I tried the “photo smile” and it looked stiff. What worked was exhaling once, relaxing my jaw, then a small natural smile. Not “teeth everywhere,” more like “I am approachable and not miserable.” Take 10 shots, the first 3 will look weird, the last 3 will usually be usable.
Now, if you are tired already reading this and do not want to mess with lighting and 50 retakes, I ended up doing something lazier.
I used an AI headshot app:
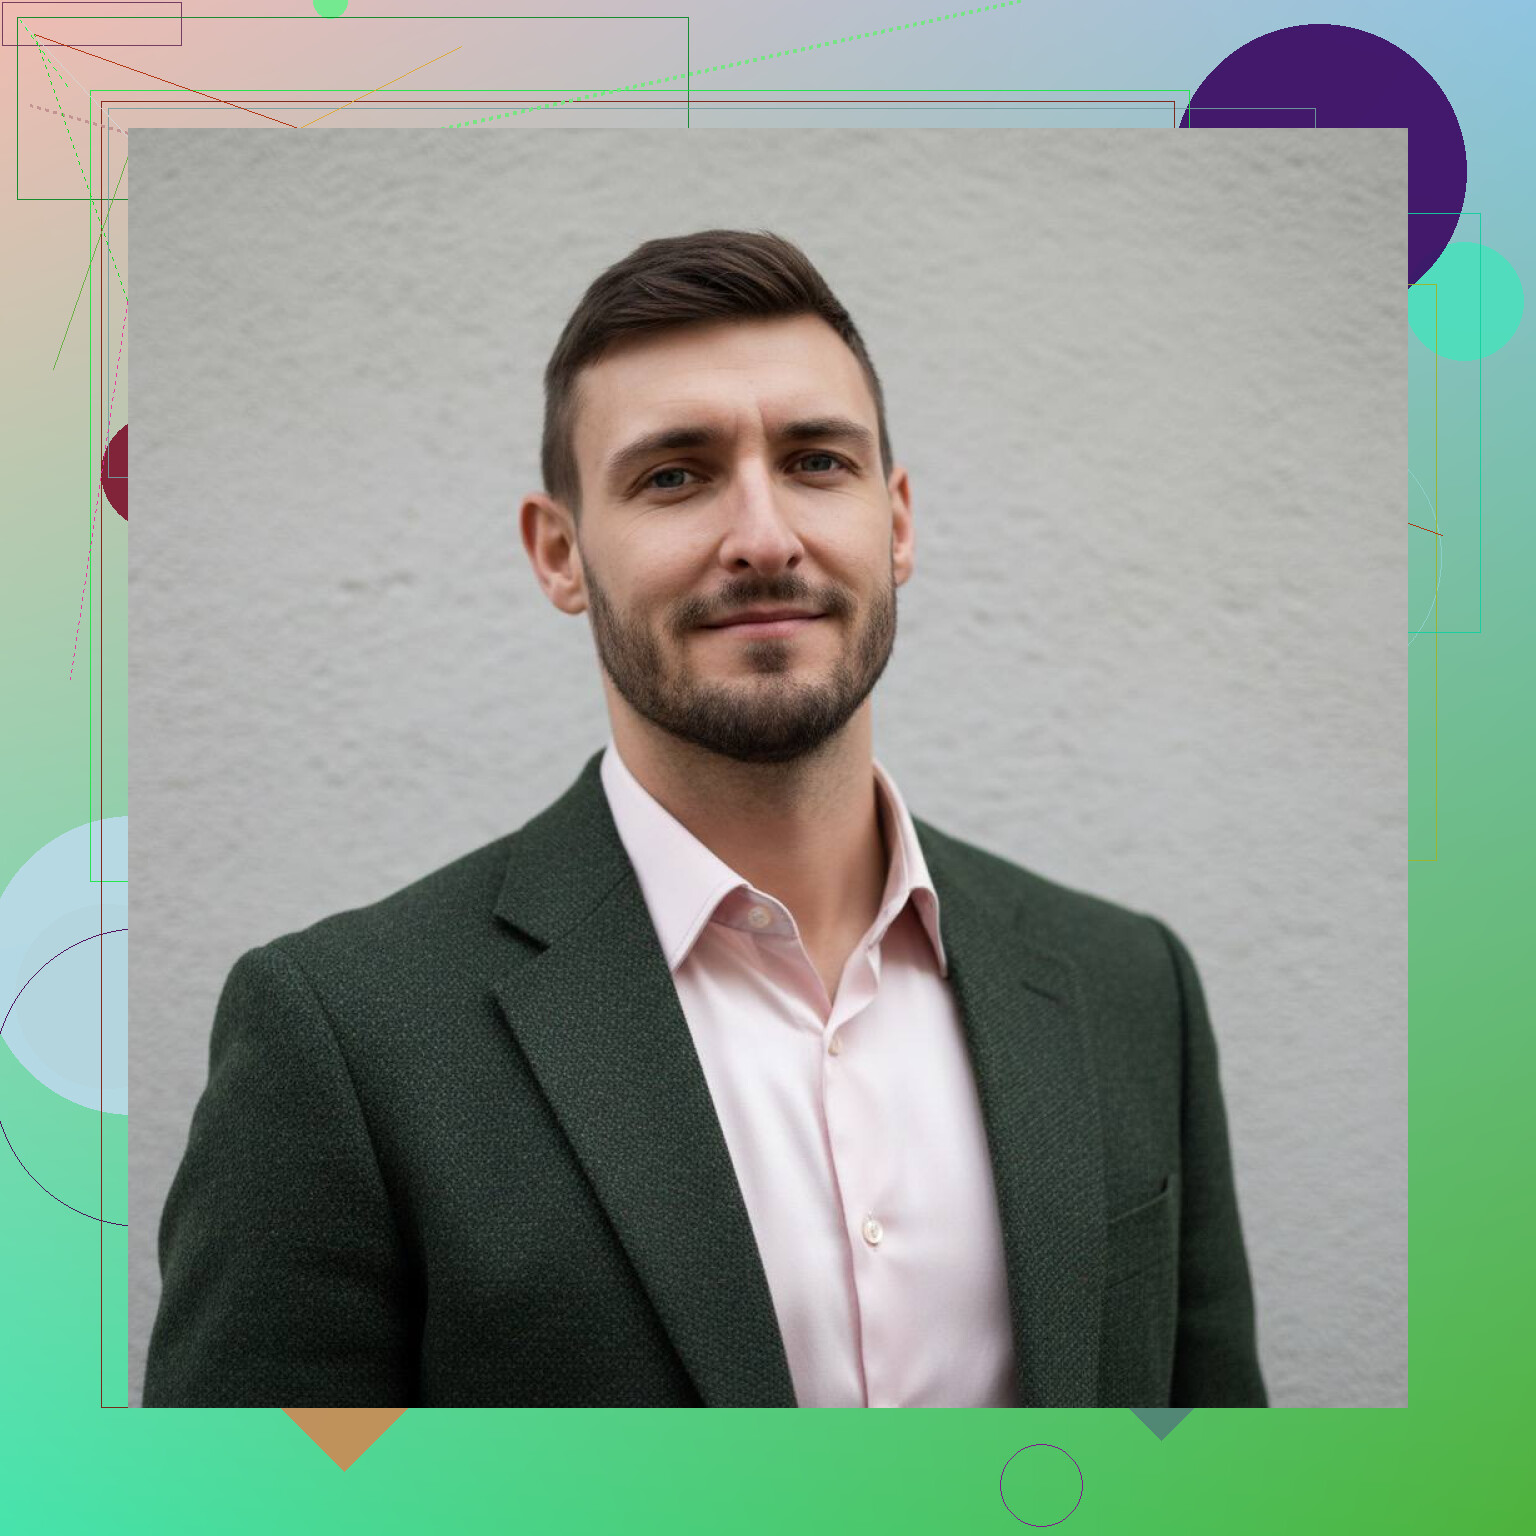
Here are what I generated:

Want the same?
What I did:
-
Grabbed a clean selfie
I took a simple selfie with decent light, no heavy filters, no sunglasses, no big hat. Neutral background helped a lot, but the app handled some clutter too. -
Picked a “LinkedIn / Professional” style
Inside the app, I picked a professional / LinkedIn style instead of the overly glamour stuff. It generated a batch of headshots with different outfits, backgrounds, and angles. -
Filtered hard
Most people stop at the first “good enough” image. I did not. I ignored the weird ones, picked the ones that still felt like me, and checked three things:
• Eyes not dead or over-smoothed
• Face shape still looks like my face
• Background simple and non-distracting
I tested them on a couple of friends. I asked “Would you think this looks fake?” One said “slightly polished” but nobody said “obviously AI” or “this is weird”. That was enough for me.
Read more anout this app here:
Same idea, different entry point.
My takeaway after talking to a few hiring managers and recruiters I know: they want a clear, clean, non-blurry face. They look at whether you seem like a real adult human who made some effort, not whether a photographer took the shot. If your face is visible, expression is neutral or friendly, and the image does not look like a meme or party photo, it does the job.
If you want something practical to do right now:
- Stand near a window in soft light.
- Put your phone at eye level, not below your chin.
- Take 15 photos with slight changes in angle and expression.
- Pick the best one.
- If it still looks off, throw that selfie into the Eltima AI Headshot Generator app and try the LinkedIn style.
- Keep 1 or 2 outputs that look like you on your best day at work, not like a different person.
That is what I use now on LinkedIn, company Slack, and conference profiles, and no one has complained so far.
10 Likes
I’ll add on to what @mikeappsreviewer said, with some different angles and a few things I disagree with.
-
Use video mode, not single photos
Open your camera, switch to video, prop the phone up, hit record, then talk to yourself for 1–2 minutes like you are in a friendly meeting.
Afterward, scrub through the video and screenshot frames where your expression looks relaxed.
This often beats 20 stiff selfies. -
Eye level plus slight angle
Do not shoot from below your chin. Put the phone at eye level or a tiny bit above.
Turn your body about 30 degrees to the side and keep your face toward the camera.
Straight-on works for some faces, but that slight angle makes most people look more natural and a bit slimmer. -
Use a tripod substitute
Stack books. Use a shelf. Tape the phone to a wall if you must.
Hands make photos shaky and weirdly framed.
You want the camera stable so the image stays sharp. -
Light from 2 directions if possible
I agree with window light, but I’d add one more trick.
Face the window. Then on the darker side of your face, put something white close to you.
A white pillowcase, poster board, or even the back of a white chair.
This bounces light and softens harsh shadows. -
Background that matches your field
Here is where I slightly disagree with going only “plain wall.”
If you work in tech, design, marketing, etc, a clean desk setup behind you can look more “real professional” than a bare wall.
Key thing is distance. Stand at least 3–6 feet in front of whatever is behind you so it blurs a bit.
No open closets, no beds, no kitchen mess. -
Phone camera settings
Turn off beauty filters and “portrait retouch.” Recruiters notice when faces look plastic.
Use the rear camera if you can, since it is usually sharper than the selfie one.
Use timer mode, 3 or 10 seconds, then step into position. -
Simple edit, not a full makeover
Free apps like Snapseed work fine.
Things to adjust only:
• Slight brightness up if the photo looks dark
• Slight contrast to avoid a washed-out look
• Crop to head and shoulders
Do not change your face shape, skin texture, or eye size. That looks odd on LinkedIn. -
Expression training
Sit by a mirror for 2 minutes. Practice:
• Neutral, soft mouth
• Small smile with lips closed
• Light smile with a bit of teeth
You want the one that makes you look like “colleague I am ok working with,” not “party selfie.”
Before each shot, breathe out, reset your face, then lift the corners of your mouth a little. It helps a lot with that awkward frozen look. -
Clothes that match your target job, not your current one
If you are aiming for corporate roles, use a collared shirt, blouse, or simple top in a neutral or deep color. Navy, charcoal, soft blue, white with a blazer.
If you aim for casual industries, a neat plain t shirt or sweater works.
Avoid big logos, deep v necks, and tops that blend into the background color. -
Quick repeatable setup
Once you get one you like, take note:
• Time of day
• Spot in the room
• Height object where you put the phone
Next year, when you update your photo, you repeat the same simple setup in 5 minutes.
Do one focused 30 minute session with all this, and you will end up with at least one photo that looks like you on a good day at work, shot with a phone, no paid photographer needed.
I’ll skip what @mikeappsreviewer and @stellacadente already nailed (lighting, angle, clothes, AI apps) and hit some things people don’t usually think about:
-
Think “headline photo,” not “passport”
Slightly disagree with the strict “ID style” idea. For LinkedIn in 2026, a tiny bit of personality actually helps.
You still want head and shoulders, but a tiny lean toward the camera or a slight tilt to your head makes you look like an actual human instead of a DMV victim. -
Treat it like a mini branding exercise
Ask yourself: if someone sees only this photo, what three words do you want in their brain?
Examples:
• “Reliable, calm, organized”
• “Curious, creative, upbeat”
Then pick expression + outfit that match that vibe.
Reliable: softer smile, solid darker colors.
Creative: bit more smile, maybe slightly lighter colors, but still simple. -
Avoid the “I’m trapped” look
A lot of awkward LinkedIn photos come from body tension more than lighting.
Quick reset trick:
• Shake your arms out
• Roll your shoulders back and down
• Stick your neck slightly forward like a turtle (feels dumb, looks better)
It helps avoid the double-chin + hunched shoulders combo. -
Use “micro-movements” between shots
Instead of taking 15 identical photos, move a little each time:
• Chin slightly up / slightly down
• Turn your head a few degrees left / right
• Change the intensity of your smile a bit
This gives you a range of options: “more serious,” “more friendly,” etc., so you can pick the one that actually matches your field and target roles. -
Watch your glasses and reflections
If you wear glasses, tilt the arms of the glasses up a tiny bit or raise the camera slightly so light does not bounce straight into the lenses.
Also: clean the lenses. Smudged glasses make your whole face look blurry and dull, especially in phone pics. -
Hair & grooming check with the selfie cam
I know you said you only have basic lighting, but grooming is free.
Use the front camera as a mirror before the “real” shots:
• Smooth stray hairs
• Check for shiny forehead (dab with tissue, even if you don’t have powder)
• Make sure collar/neckline sits right
Tiny fixes that add up to “looks put together.” -
Context test
After you pick your favorite photo, do two quick checks most people skip:
• Phone test: View it as a tiny circle on your phone, the way recruiters will. Can you still clearly see your eyes and expression? If not, crop tighter.
• Compare to your target field: Search LinkedIn for people with the job title you want in your region. Scroll and see which photos look “normal” in that world. Aim for that range, not perfection. -
Avoid the “Instagram vibe”
This is where I slightly part ways with the heavy AI usage. Some AI photos look great solo but weird in a LinkedIn feed because they’re too glossy or boudoir-ish.
If you do use AI like @mikeappsreviewer mentioned, pick results that would still look normal in an office badge system, not on a dating app. -
Refresh more often than you think
You do not need the “perfect forever” picture.
Once you get something that looks like “you on a good workday,” use it. Then, in 6–12 months, when you feel less awkward and maybe update your style, repeat your simple setup and grab a new one.
Slightly imperfect but recent beats “polished but from 8 years ago.” -
Quick 20 minute plan you can literally follow today
• Step 1: Decide 3 words you want your photo to convey.
• Step 2: Pick a top that matches your target industry level.
• Step 3: Set phone at eye level, back camera, timer, near a window with soft light.
• Step 4: Take 20 shots, changing pose/angle/expression slightly each time.
• Step 5: Trash ruthlessly, keep 2–3.
• Step 6: Light edit only: crop, tiny brightness/contrast bump.
• Step 7: Upload, move on with your life and focus on the actual job hunt.
It doesn’t need to scream “professional photoshoot.” It just needs to say “I’m a functional adult you’d be fine introducing to a client.” That is the real bar.
Skip the perfect-theory stuff for a second and think like a recruiter: they glance for half a second at a tiny circle. Your goal is not “art,” it is “instantly legible human.”
A few angles the others did not really lean on:
-
Think “how will this look at 40 pixels”
After you pick a photo, shrink it to a tiny size on your phone.- If your eyes are lost in shadow, it is a bad LinkedIn photo, even if it looks fine full screen.
- If your face is tiny because you liked the background, crop harder. Background is decoration. Your face is the content.
-
Test for “trust face,” not “pretty face”
This is where I slightly disagree with relying a lot on AI or heavy retouching. Some AI headshots and filters hit “attractive” but miss “trustworthy” because the skin is too smooth or the eyes are too bright and glassy.
Quick test: would you trust this person to handle your bank password or present to your boss? If the answer is “uhh, maybe in a commercial,” pick a more normal shot. -
Use expression to match job seniority
A junior / early career profile can get away with a warmer, more open smile. A senior manager or specialist often looks stronger with a calm, small smile and slightly more neutral expression. Same person, different energy, and it changes how people read your experience. -
Phone “portrait mode” is optional, not mandatory
Slightly disagree with the obsession over blur.- Portrait mode is great if your background is busy.
- It is bad if your phone cuts into your hair or ears and creates that weird halo.
Take a normal shot and a portrait mode shot in the same setup. Use the one that looks less “software-y,” not automatically the one with more blur.
-
Use other people’s reaction as the final filter
After you have 3 candidates, send them to two friends with different personalities. Ask only:- “Which one looks most confident?”
- “Which one looks most approachable?”
Do not ask which one is prettiest or most flattering. People hiring you are reading personality and competence first.
-
About AI headshot tools like the Eltima AI Headshot Generator
You do not have to use AI, but since it came up already, here is the practical angle.Pros:
- Saves time if you keep pulling awkward faces in every selfie.
- Can simulate nicer lighting and a cleaner background than your actual room.
- Helpful if you need multiple variants for LinkedIn, company site, conference speaker bio.
Cons:
- Some outputs drift away from how you really look. That can backfire at first interview.
- Over-polished results can clash with your coworkers’ normal photos on company pages.
- You still need a decent source photo, so it does not fully replace taking a careful original.
Compared with what @stellacadente, @kakeru and @mikeappsreviewer described, AI tools are more of a “finishing option.” Their setups (light, angle, expression) solve 80 percent of the problem. A generator like this should be for the last 20 percent, not the main strategy.
-
Fast realism check before you upload
- Look at your picture next to 10 people in your target role on LinkedIn.
- If you stand out because you look clearer and more professional, good.
- If you stand out because you look like a game character or a club promoter, try a different shot.
If you keep those filters in mind, one short DIY session with your phone will usually get you a “good enough” LinkedIn photo that actually helps with your job hunt instead of stressing you out.