I accidentally emptied the Trash on my MacBook Air and deleted important files I still need for work. I’m looking for the best Mac data recovery tool or method to recover emptied Trash files before anything gets overwritten. What actually works for macOS, and what should I avoid doing right now?
I did this once on a MacBook and the first move was simple. Stop touching the machine. No downloads. No app installs. No saving files. Close the lid if you need to. When you empty Trash, macOS usually removes the file map, not the file data right away. The bits often stay on the drive until new data lands in the same spot. If you keep using the laptop, you raise the odds of wiping out the stuff you want back.
There’s another problem on newer Macs. SSDs use TRIM, and TRIM starts clearing deleted blocks in the background so the drive stays fast. On MacBooks with SSD storage, time matters. I’ve seen people lose the recovery window by poking around for ten minutes, installing tools, signing in, syncing, all of it. Bad move.
Most people don’t have a clean backup sitting there. Fine. Start with the thing with the best shot.
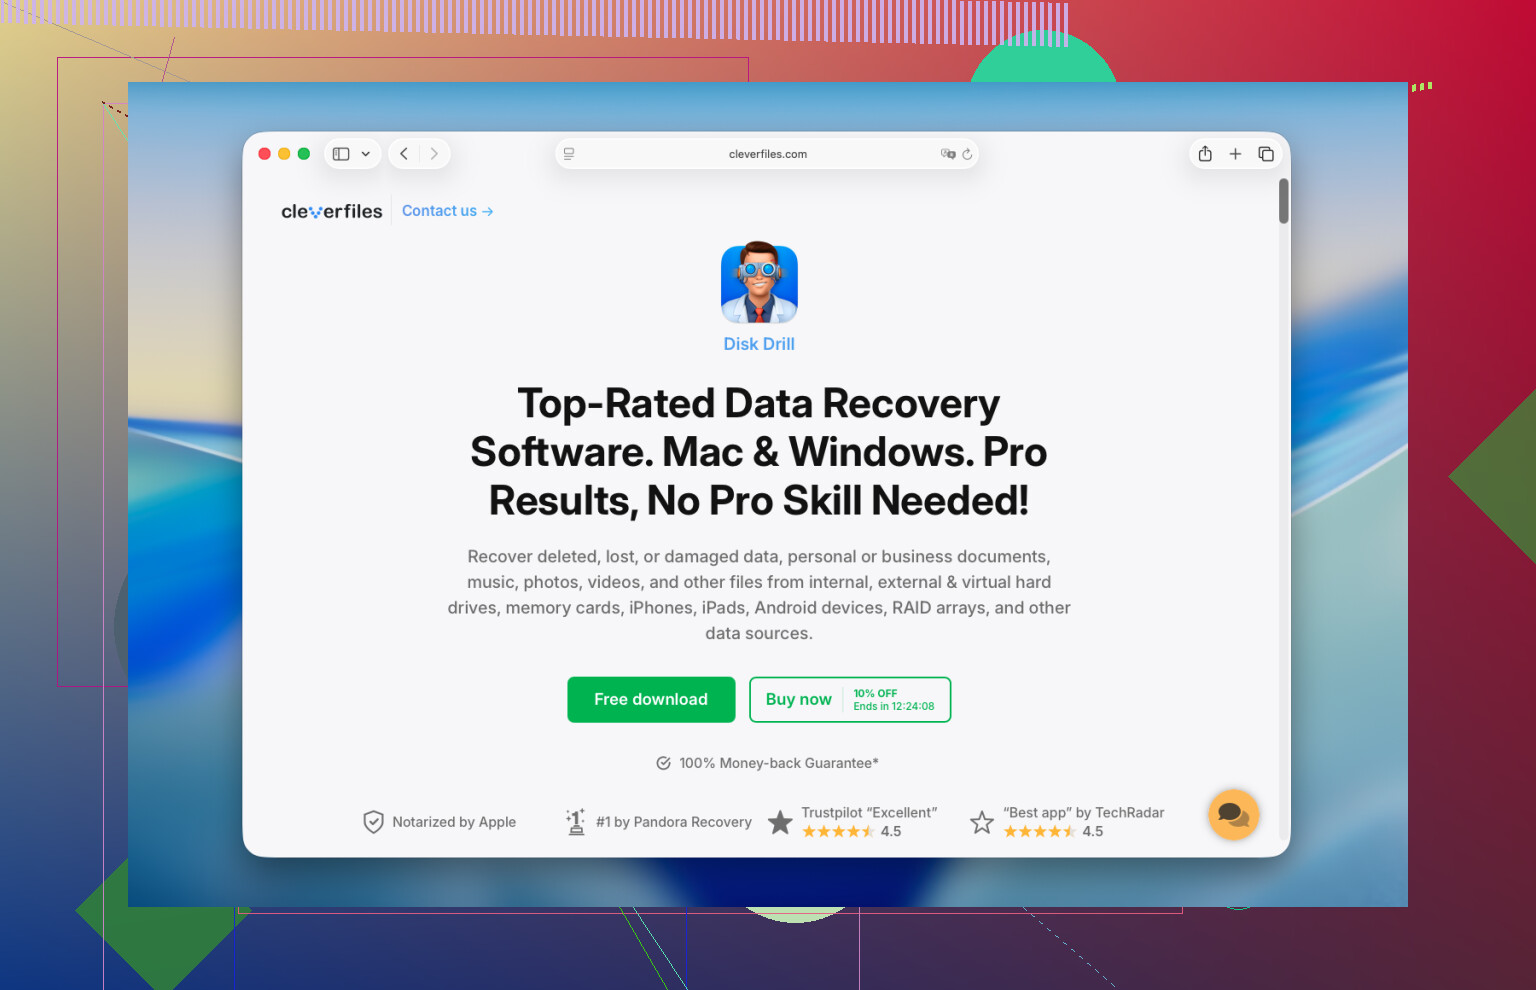
Run recovery software fast. I’ve had the best results with Disk Drill. Newer MacBooks, especially Apple Silicon models like M1, M2, M3, and M4, plus Intel Macs with the T2 chip, are locked down hard. The internal drive is encrypted and a lot of generic tools fall flat. Disk Drill tends to handle those Macs better. This is the part where people mess up, so do it in this order.
- Do not install it on the same MacBook. I know, annoying. Still true. Installing software writes to the internal drive, and you might overwrite the files you’re trying to pull back. Use another computer. Download Disk Drill there. Put it on a USB flash drive. Run from there.
- Make a disk image first. Skip this and you lose your safety copy. Disk Drill lets you clone the drive sector by sector into an image file on an external disk. I treat this like insurance. If the first pass misses things, or you make a mistake later, you still have a frozen copy of the drive from before more data got wiped. On SSD Macs, this matters a lot.
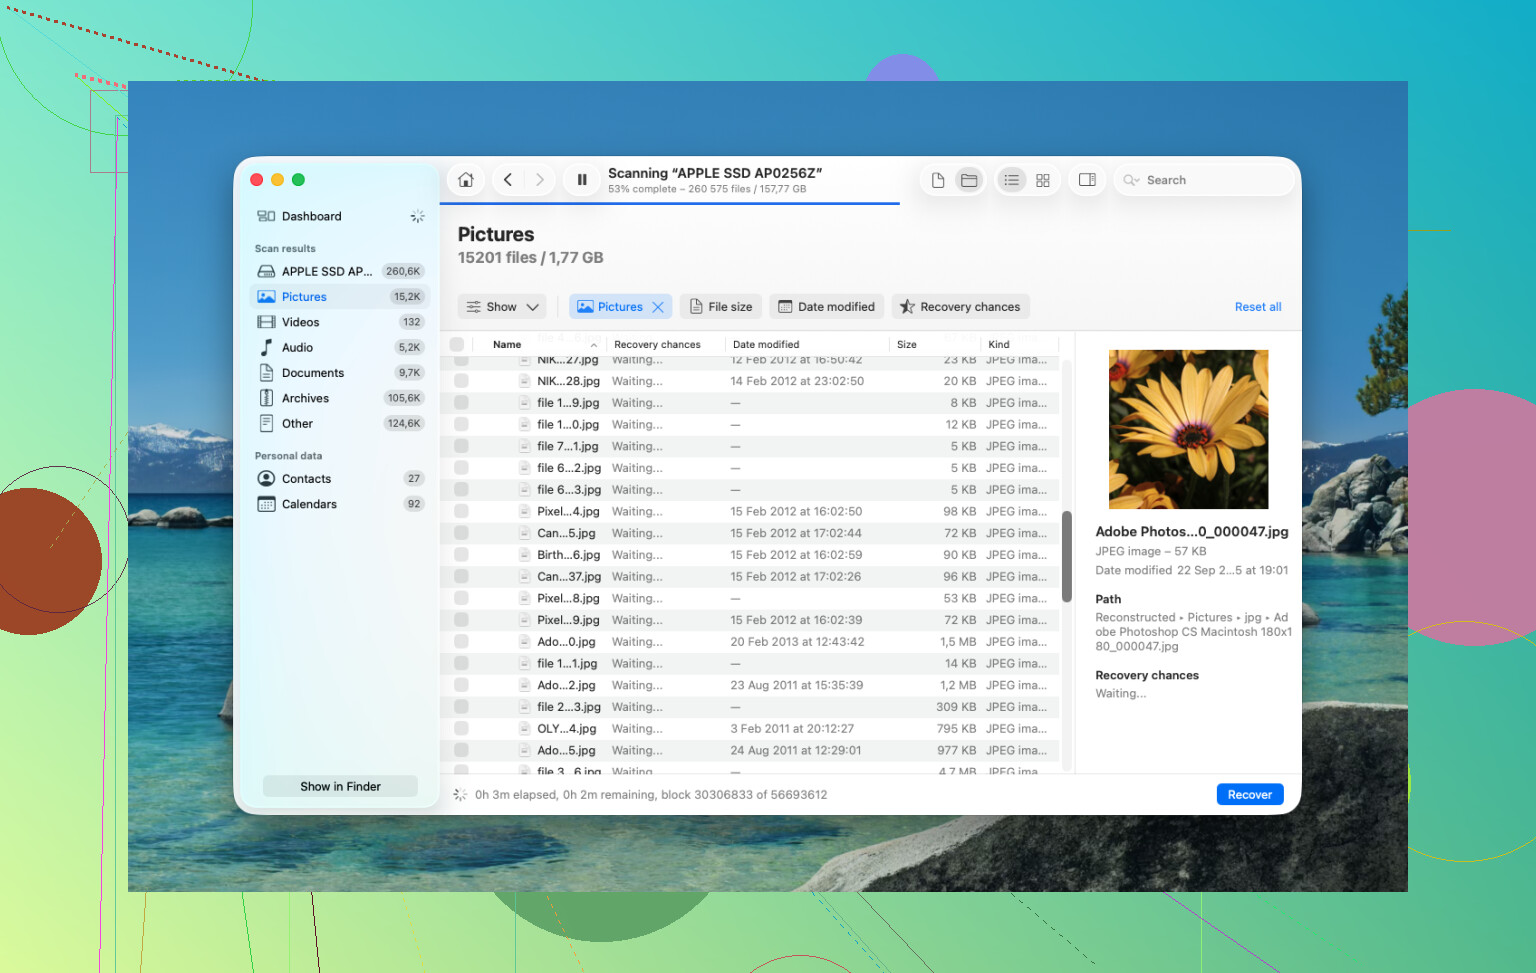
- Run Universal Scan. Scan the internal drive, or better, scan the disk image you made. Let it search the raw storage for recoverable files. This part takes time. Leave it alone and let it finish.
- Check the previews before paying. One thing I liked here, the scan itself is free, and you get previews of what it found. Photos, docs, videos, thumbnails, all of it. I always look through the results first so I know the files are there and not broken.
- Restore to an external drive. Don’t save recovered files back onto the MacBook’s internal storage. Use a USB drive or external SSD. If you write them back to the same disk, you risk stomping on other deleted data. Sounds obvious, people still do it.
After that, check the easy places. Sometimes the files aren’t gone, they’re sitting in some other bin Apple hid three menus deep.
Time Machine. If you ever turned it on, open Time Machine and go to the folder where the files used to live. macOS often keeps local snapshots from the past 24 hours on the internal drive even if your backup disk isn’t connected. I’ve seen this save people who swore they had no backup at all.
Cloud services. If those files were synced to iCloud Drive, Dropbox, or Google Drive, stop using the Mac and check from your phone or another computer. Each service has its own deleted-items area, separate from macOS Trash. In many cases the files sit there for up to 30 days.
Photos and Notes. These apps keep their own Recently Deleted folders. If the missing stuff was pictures or notes, open those apps and look there. Apple usually holds deleted items for around 30 to 40 days. I’ve watched people panic over “lost” photos when they were sitting there the whole time. Typcal Apple stuff.
If none of this works, the last stop is a recovery lab. They use specialized hardware and work outside normal macOS limits, often in a cleanroom setup. It’s the strongest option when the data matters a lot. It also gets expensive fast, usually somewhere from $300 to $3,000. For family photos, tax records, work files you can’t replace, maybe worth it. For a meme folder, nah.
3 Likes
I’d add one thing to what @mikeappsreviewer said. If your work files matter and your MacBook Air has an internal SSD, software recovery is a race against TRIM. Sometimes the best move is to stop trying local recovery after one solid pass.
My order would be:
-
Check app-level restore first.
Files app, Pages, Word, Excel, Adobe, Photos, Notes, iCloud Drive, Dropbox, Google Drive. Many keep version history or their own deleted area. For work docs, this hits more often than people think. -
Check Time Machine snapshots from Terminal.
Not everyone sees them in the Time Machine UI.
Run:
tmutil listlocalsnapshots /
If snapshots exist, restore from there. Fast. No extra writes beyond the restore target if you use an external drive. -
If no backup, use Disk Drill once, then stop.
I do agree Disk Drill is one of the better Mac data recovery tools for emptied Trash, esp on newer Macs. But I would not keep rescanning for hours from different modes on the same machine. One image, one deep scan, restore to external storage. If it misses the files, repeated scans usuallly do not change much. -
If the files are business-critical, go to a lab early.
People wait too long. On SSD Macs, delay hurts.
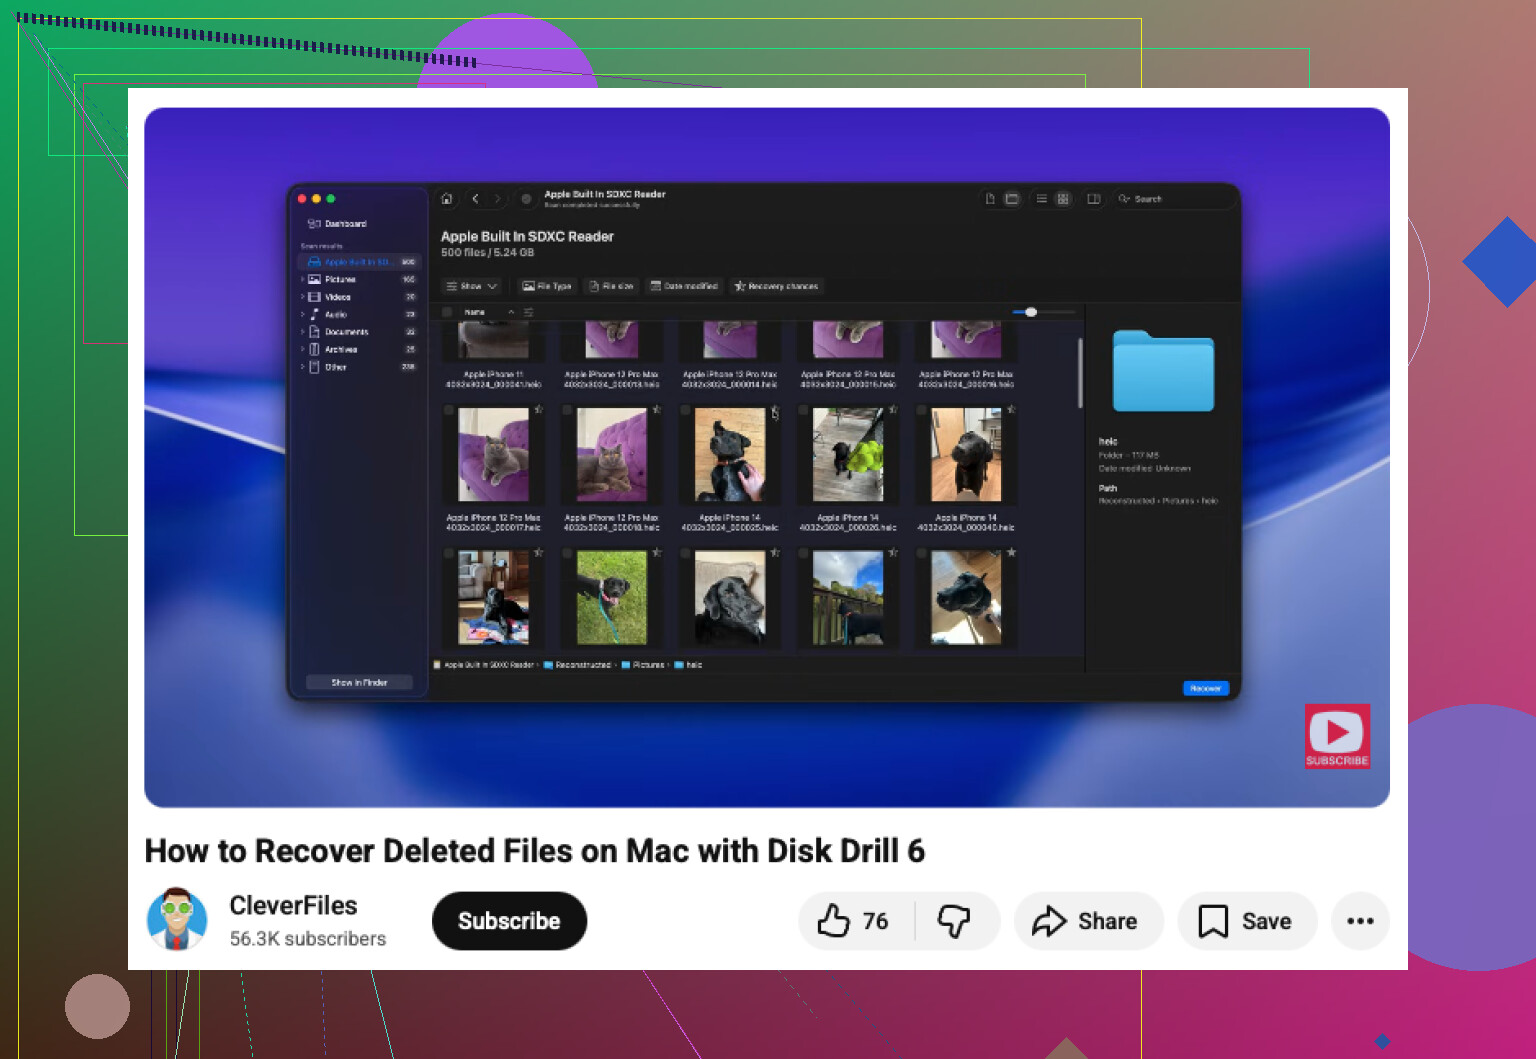
Also, this video is a decent walk-through for Mac file recovery steps:
Mac file recovery tutorial for deleted and emptied Trash files
Short version, try backups and cloud history first. Then Disk Drill. Then a lab if the files are worth real money.
Big thing I’d add to what @mikeappsreviewer and @yozora said: before you go full recovery-mode, check whether the files were ever inside an app library instead of plain Finder folders. A lot of people empty Trash and assume “gone from disk,” but apps like Word, Excel, Pages, Photoshop, and even Preview can leave behind autosave, temp, or versioned copies in odd places. That’s not the same as Trash recovery, and sometimes it works even when recovery software finds nothing.
A few places worth checking from another device if possible:
- iCloud Drive on the web, especially “Recently Deleted”
- office apps with AutoRecovery
- Adobe cloud/version history
- email attachments you sent yourself or teammates
- Slack/Teams uploads if the file was shared there
I slightly disagree with the “only one tool ever” mindset. Repeated random rescans are dumb, yeah, but one proper pass with Disk Drill is still probably your best software option on a MacBook Air, especially if you need emptied Trash recovery on macOS and want previews before restoring. After that, if the files are super critical, stop DIY stuff.
One more angle people forget: if FileVault was enabled and TRIM already did its thing, software recovery can get ugly fast. At that point, don’t waste hours chasing miracle apps.
Also, this Mac emptied Trash file recovery walkthrough is a decent quick visual explainer.
Short version:
- Stop using the Mac.
- Check app/cloud/version history.
- Use Disk Drill from external media if you have no backup.
- Recover to an external drive.
- If it’s work-critical and not found fast, pay the lab tax. Annoying, but thats realy the truth.
I mostly agree with @yozora, @hoshikuzu, and @mikeappsreviewer, but I’d add one angle people skip: check whether the deleted files still exist in Spotlight’s index or in app recents, even if the original file path is gone. Sometimes Finder Trash is emptied, but an app still holds a live alias, cached copy, or a reopened temp version. Not common, but worth a 2 minute check from the app itself, not Finder.
Also, slight disagreement on cloning first in every case: on a MacBook Air with a nearly full internal SSD, trying to build a full image can take long enough that you lose your window anyway. If the files are a few docs and you need them fast, a targeted scan with Disk Drill can be the more practical first move.
Disk Drill pros:
- good Mac support
- previews before recovery
- handles deleted/emptied Trash scans well
- interface is easy if you are stressed
Disk Drill cons:
- not magic on TRIMmed SSDs
- deep scans can return messy filenames
- full recovery requires payment
- scanning the internal SSD can still be time-sensitive on newer Macs
One extra thing: if these were office files, search for:
.asdfor Word AutoRecovery- Excel temp/autosave files
- Pages document versions
- PDF copies in mail attachments or chat uploads
If nothing shows up quickly, stop experimenting. On SSD Macs, “trying more stuff” often just means “writing more data.” One solid pass with Disk Drill, recover to external storage, then either accept the result or escalate to a lab.