Sure, setting up SFTP on your Mac can be tricky at first, but once you know the steps it gets easier. Here’s a basic guide to get you started:
-
Open Terminal: You can open it by searching for ‘Terminal’ in Spotlight.
-
Initiate SFTP Session:
Type in the terminal:sftp your_username@remote_server_addressReplace
your_usernamewith your actual username andremote_server_addresswith the server’s address. -
Authenticate Yourself:
Enter your password when prompted. If you have SSH keys set up, it might not ask for your password. -
Navigating and Managing Files:
- List files and directories:
ls - Change directory:
cd directory_name - Upload files:
put local_file remote_file - Download files:
get remote_file local_file
- List files and directories:
These basics should get you connected.
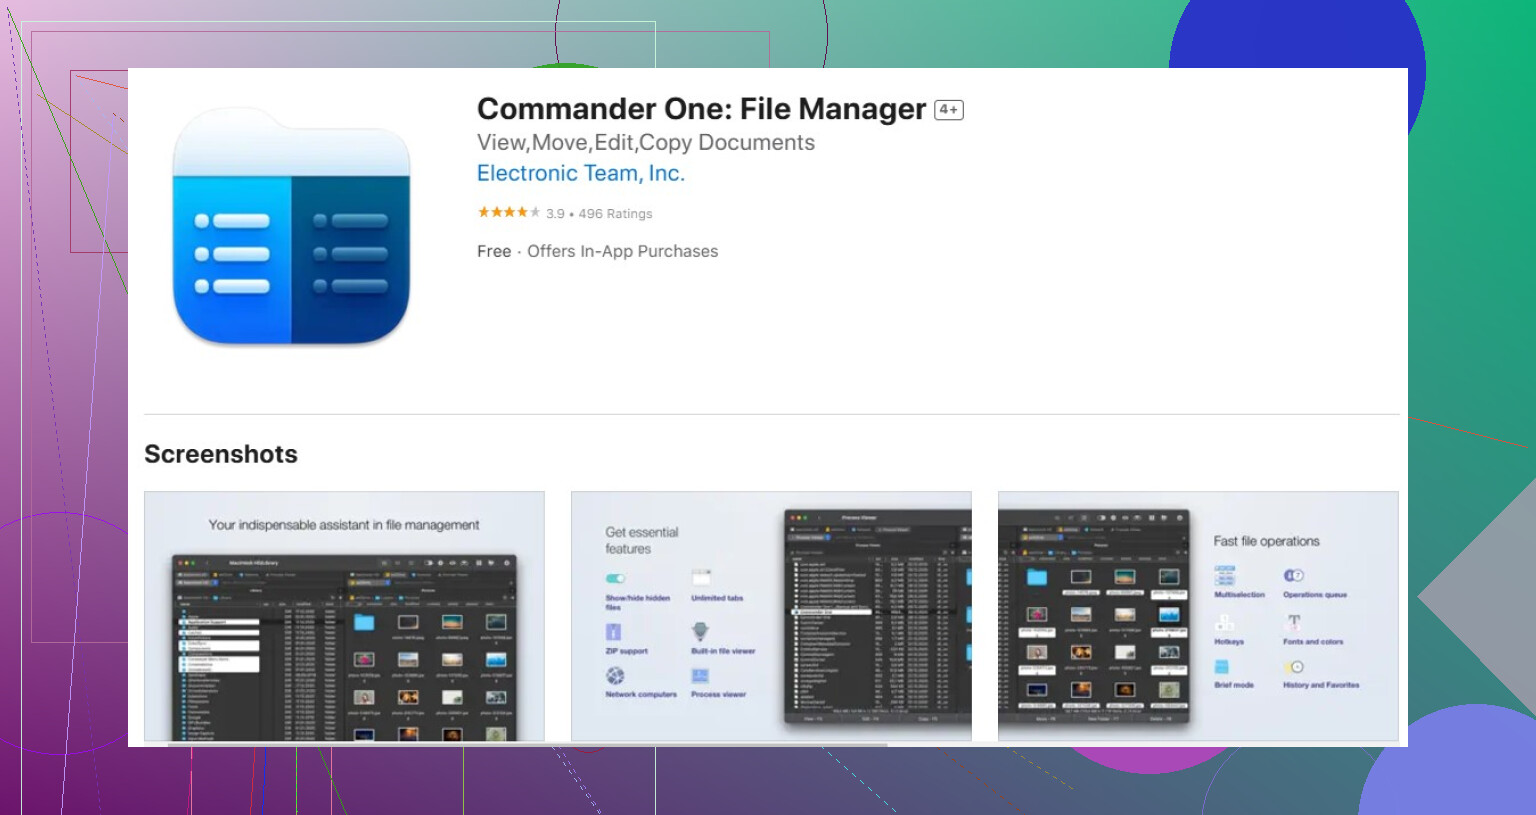
However, if you’re looking for something more user-friendly and with a graphical interface, you might want to try the Commander One app. It’s a robust file manager for macOS that includes an SFTP client, which can simplify your workflow.
Hope this helps! If you run into specific issues, feel free to detail them and I or others here can assist further.